RabbitMQ is an open-source message-queuing or messaging broker software. Applications connect to a RabbitMQ queue to transfer messages. Helmfile allows you to declare the definition of all Kubernetes clusters and Helm releases (Helm charts) in a single YAML file. It maintains a directory of chart value files and version control. It also allows you to specify an environment-based application release (develop, test, production).
Deploy RabbitMQ on AWS EKS using Helmfile
The Helm chart for RabbitMQ is available on Github. We modify the Helmchart for RabbitMQ and convert it to a Helmfile. Helmfile uses Go templates for templating helmfile.yaml. There are several built-in functions we can use in helmfile, and for this we are using requiredEnv and exec functions.
requiredEnv: This function allows you to declare an environment variable as required which can be used for template rendering. If the environment variable is unset or empty, the template rendering will fail with an error message. We use environment variables DOMAIN and ENVIRONMENT to use a generic file and deploy this helmfile to multiple environments.
exec: This template function is useful for importing values from any source. We import values from the SSM parameter store. For e.g.,
username: {{exec "./ssm.sh" (list "rabbitmq/username") }}
Note: On the Production environment please add a replica count as per your requirement for the autoscaling purpose. Add the below parameter in helmfile replicaCount: 2
Create the helmfile named rabbitmq.yaml
# DOMAIN=rabbitmq.devops.app.com ENVIRONMENT=devops helmfile -f rabbitmq.yaml diff

repositories:
- name: bitnami
  url: https://charts.bitnami.com/bitnami

releases:
- name: rabbitmq
  namespace: {{ requiredEnv "ENVIRONMENT" }}
  chart: bitnami/rabbitmq
  version: 8.25.0
  values:
  - auth:
      username: {{ exec "./ssm.sh" (list "rabbitmq/username") }}
      password: {{ exec "./ssm.sh" (list "rabbitmq/password") }}
      erlangCookie: {{ exec "./ssm.sh" (list "rabbitmq/erlangCookie") }}
    plugins: "rabbitmq_management rabbitmq_peer_discovery_k8s"
    extraPlugins: "rabbitmq_auth_backend_ldap"
    persistence:
      enabled: true
    metrics:
      enabled: true
    prometheusRule:
      enabled: true
    service:
      type: NodePort
    ingress:
      enabled: true
      path: /*
      hostname: {{ requiredEnv "DOMAIN" }}
      annotations:
        kubernetes.io/ingress.class: alb
        external-dns.alpha.kubernetes.io/hostname: {{ requiredEnv "DOMAIN" }}
        external-dns.alpha.kubernetes.io/ingress-hostname-source: annotation-only
        alb.ingress.kubernetes.io/actions.response-404: |
          {"Type":"fixed-response","FixedResponseConfig":{"ContentType":"text/plain","StatusCode":"404","MessageBody":"{{ requiredEnv "ENVIRONMENT" }} - 404 Page not found"}}
        alb.ingress.kubernetes.io/ssl-redirect: '443'
        alb.ingress.kubernetes.io/certificate-arn: {{ exec "./ssm.sh" (list "ingress/CERT_ARN") }}
        alb.ingress.kubernetes.io/listen-ports: '[{"HTTPS":443}]'
        alb.ingress.kubernetes.io/load-balancer-attributes: {{ exec "./ssm.sh" (list "ingress/LB_ATTRIBUTES") }}
        alb.ingress.kubernetes.io/scheme: internet-facing
        alb.ingress.kubernetes.io/security-groups: {{ exec "./ssm.sh" (list "ingress/SECURITY_GROUPS") }}
        alb.ingress.kubernetes.io/subnets: {{ exec "./ssm.sh" (list "ingress/SUBNET_IDS") }}
        alb.ingress.kubernetes.io/group.name: {{ requiredEnv "ENVIRONMENT" }}
  wait: true
  timeout: 120
You can fetch username, password or any credentials from AWS Parameter store or AWS Secrets manager in the Helmfile.
We use SSM Parameter Store and a shell script to retrieve the credentials and insert them in our helmfile. Create a System Manager parameter store using AWS Console or AWS CLI
Create a file named ssm.sh
#!/usr/bin/env sh
set -ex

SSM_PARAMETER="/"

aws ssm get-parameters \
    --names "${SSM_PARAMETER}" \
    --with-decryption \
    --output text \
    --query 'Parameters[0].Value' \
    --region "us-west-2"
Give Executable permission to file
chmod +x ssm.sh
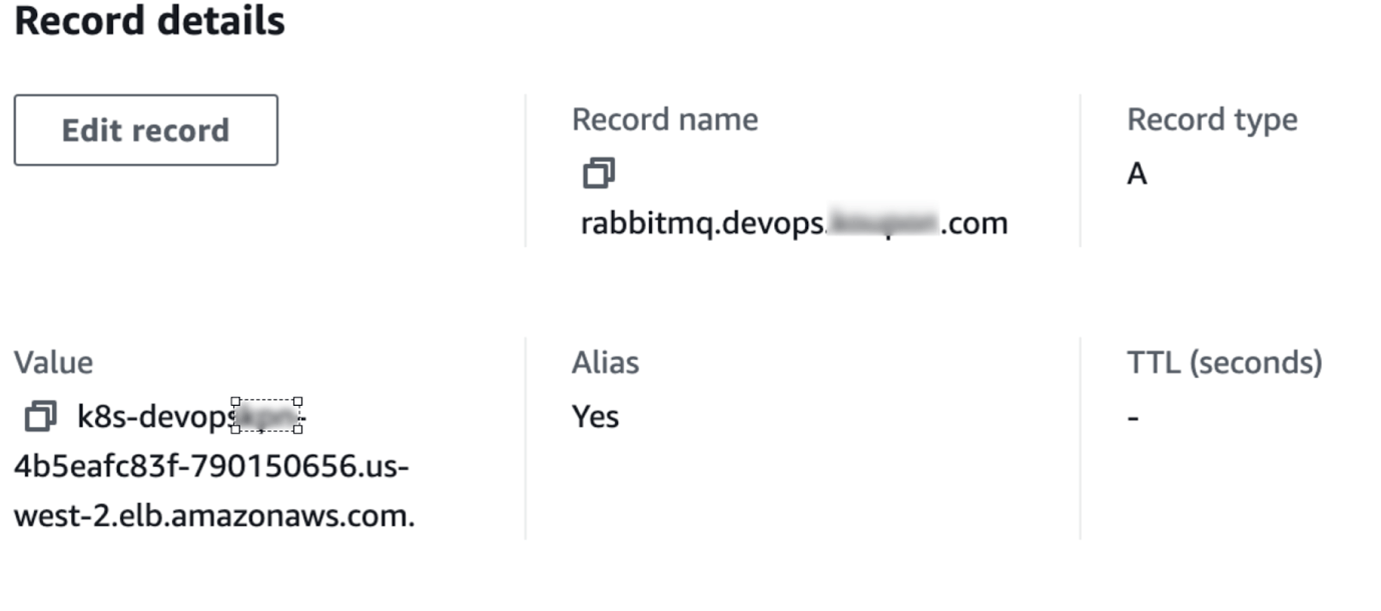
In the above mentioned helmfile we are using the AWS ALB ingress controller for the forwarding traffic from HTTP to HTTPS and distributing the load. We also use external-dns annotation for updating the DNS records.
Check the syntax using the diff command:
helmfile -f rabbitmq.yaml diff
If we are satisfied with the diff, we run a sync or apply
helmfile -f rabbitmq.yaml apply
Once it is deployed check whether the pod is running or not
kubectl get pods -A
Once deployed successfully, external-DNS will update the DNS records and check using the DNS name if rabbitmq shows the dashboard page as shown below,


References
- “GitHub – Roboll/Helmfile: Deploy Kubernetes Helm Charts.” GitHub, June 5, 2022. https://github.com/roboll/helmfile.
- kubernetes-sigs. “GitHub – Kubernetes-Sigs/External-Dns: Configure External DNS Servers (AWS Route53, Google CloudDNS and Others) for Kubernetes Ingresses and Services.” GitHub – External DNS, October 26, 2022. https://github.com/kubernetes-sigs/external-dns.
- “Charts/Stable/Rabbitmq at Master · Helm/Charts.” GitHub – RabbitMQ. Accessed October 28, 2022. https://github.com/helm/charts/tree/master/stable/rabbitmq.
About the author
Suraj Kamble is a DevOps engineer at Excellarate. He has expertise in tools and technologies such as Docker, Kubernetes, terraform, Jenkins, CloudFormation, Gitlab and Bitbucket CICD, Sumologic, Datadog, Grafana and Prometheus. Suraj holds a bachelor’s degree in computer engineering from the Savitribai Phule Pune University.


