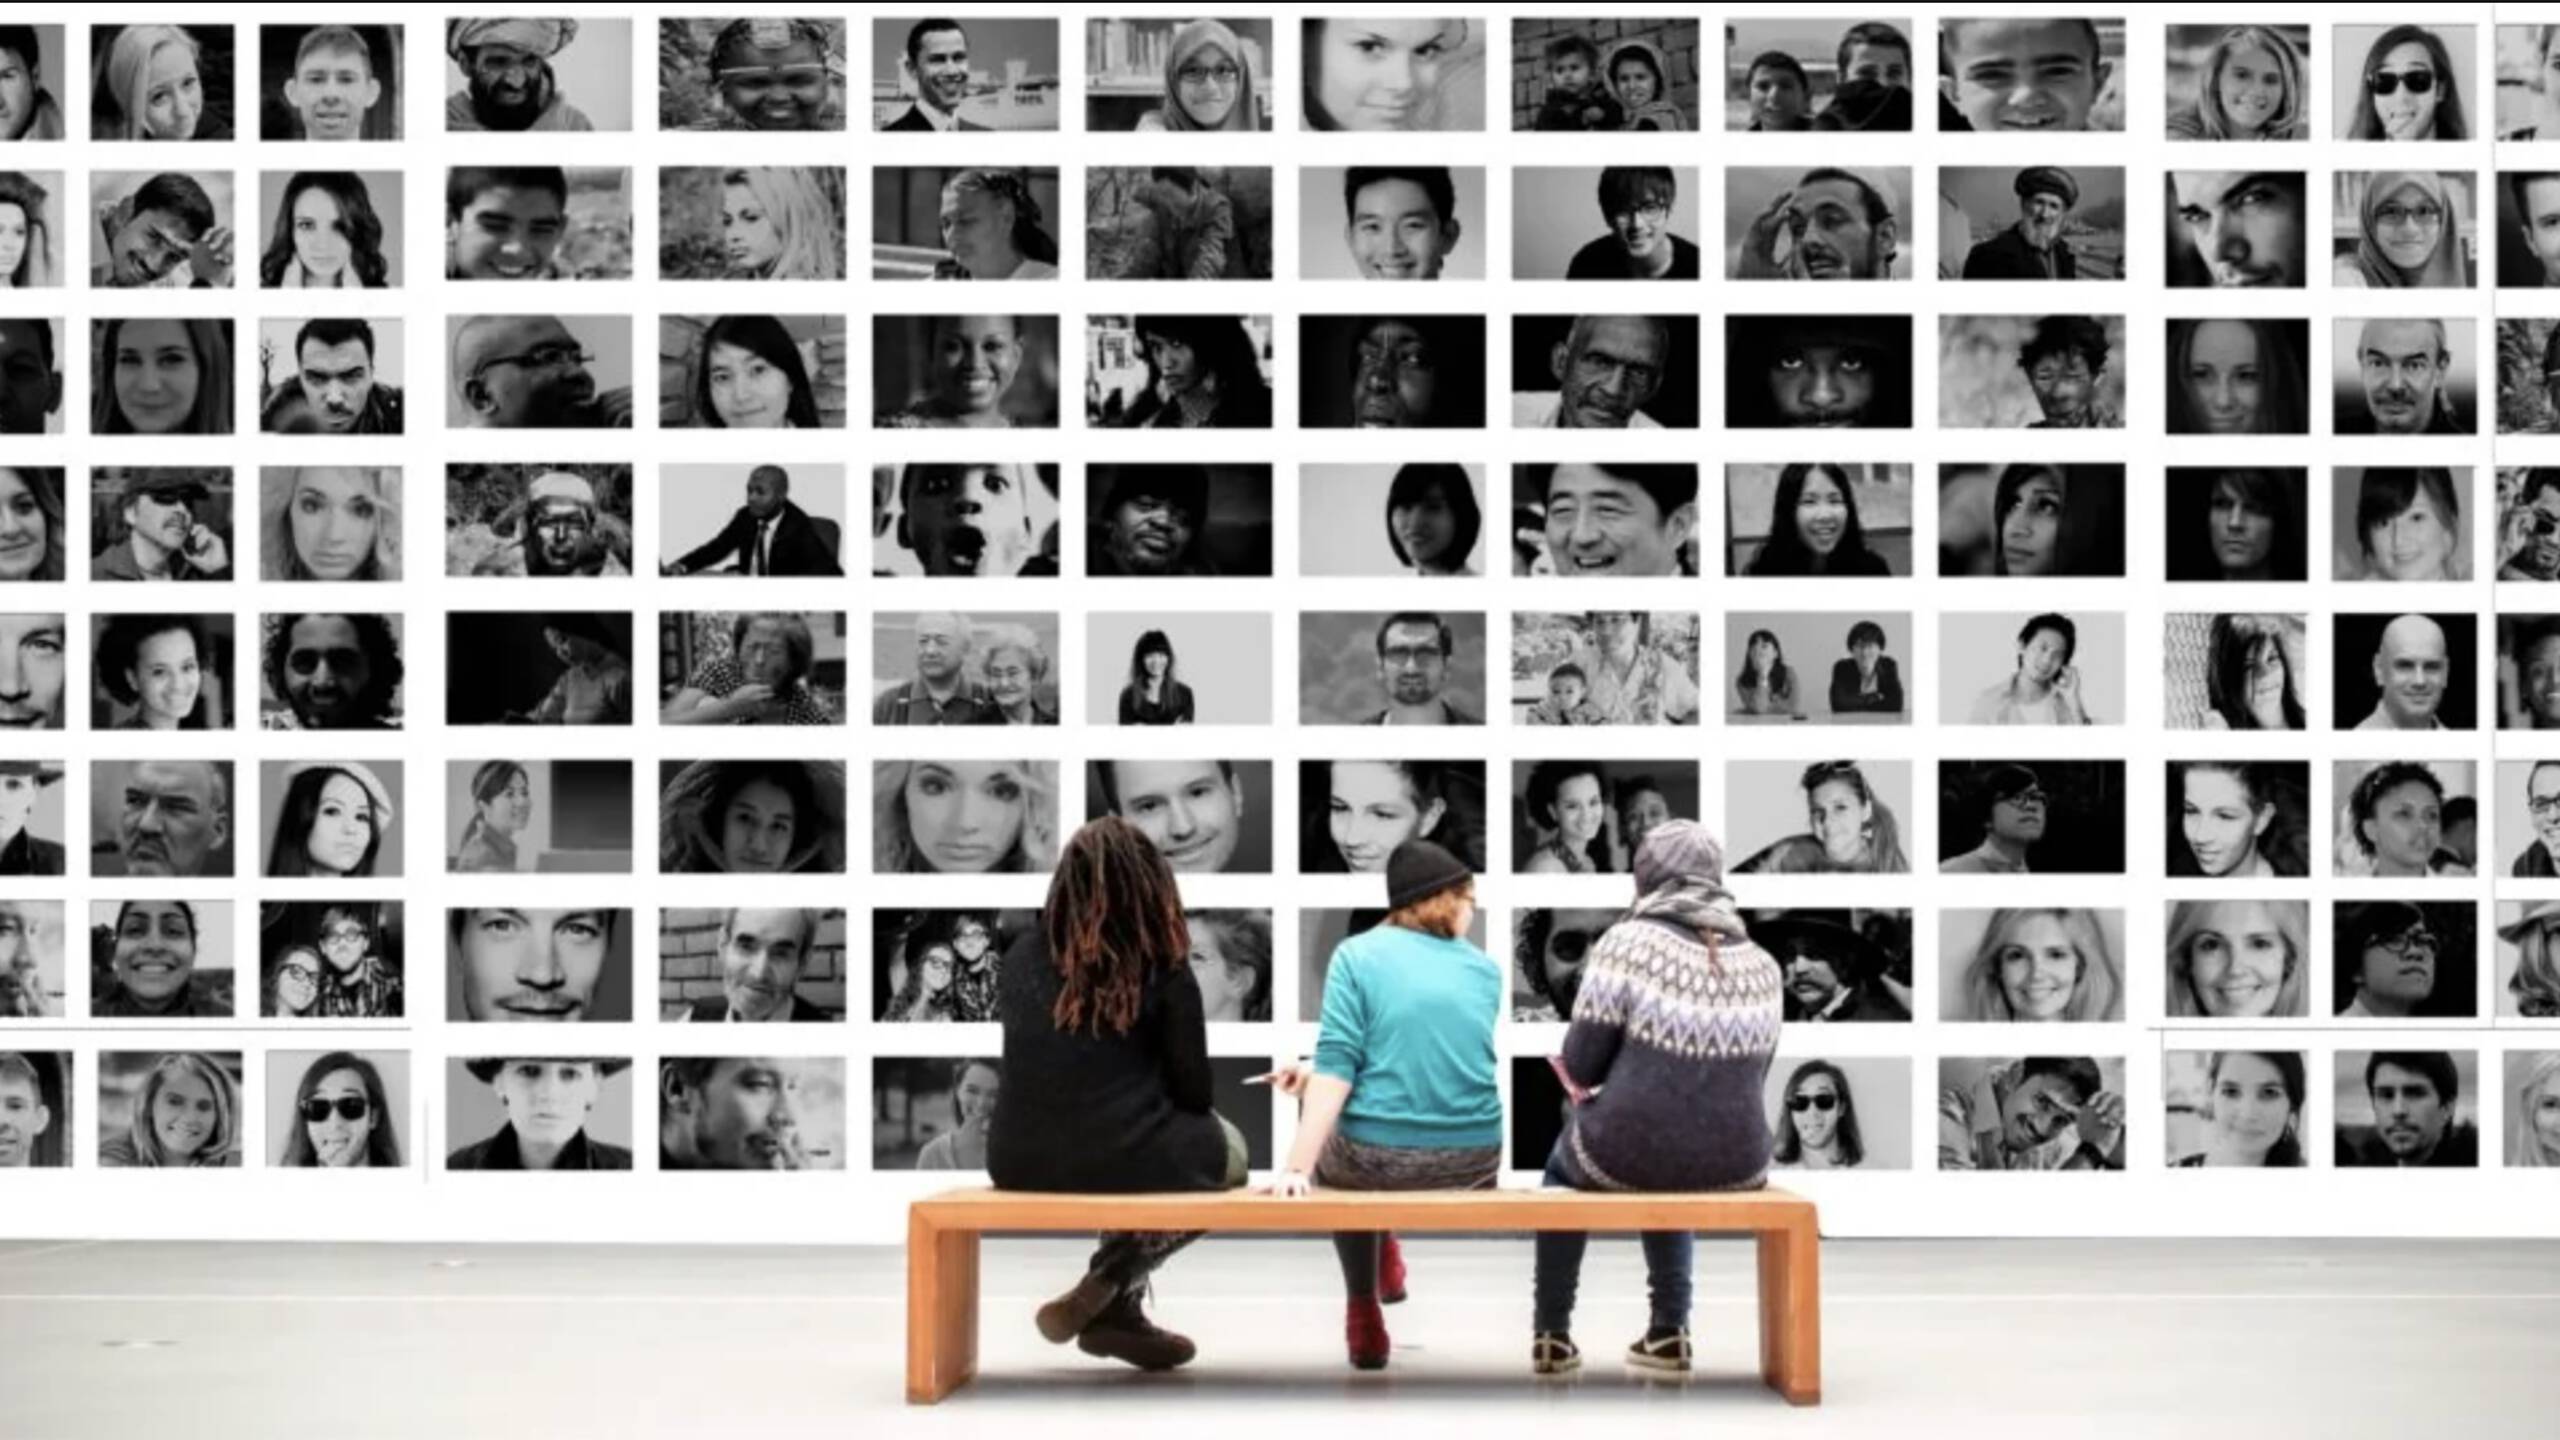
It’s a sunny day at the beach and you are out with your best mates. You take a ton of pics and are happy that you captured some great moments. Cool! Now back home, your friends want you to sort and share photos. Don’t you wish you knew some magic spells?
Here’s another stage. To preserve the ‘ghost of the mountain’, the white leopard, the geologist would like to track the movement of the predator to understand their behavior. Placing a GPS collar is a laborious task. Here motion detection camera would help but how do you sift through a ton of photos?
Enter CNN. Not CNN News. CNN or Convolutional Neural Network – a revolutionary deep artificial neural network that can analyze images. Now years of data can be visually analyzed, sorted and understood without the need to rally the team. Recent application of this feature is the iOS and the Mac OS. iPhone and Mac users can enjoy the feature of auto-sorting based on faces detected in a group of photos. But, we still cannot add them to folders and save it to an external drive.
Solution time then?! Using DLIB Deep learning CNN module, one can;
- Use a model that is pre-trained using 3 million images to detect a face in an image.
- Detect individual facial landmark in an image with single or many faces
- Map an image of a human face to a 128-dimensional vector space where images of the same person are near to each other and images from different people are far apart
One important consideration before we start is that DLIB, in general, supposes that if two face descriptor vectors have a Euclidean distance between them that is less than 0.6 then they are the same person. In essence, this model, once presented with a pair of face images, will correctly identify whether the pair belongs to the same person or not 99.38% of the time. This is comparable with other state-of-the-art methods for face recognition on the market to date.
With that covered, let’s understand how we can implement DLIB to solve the business cases mentioned earlier.
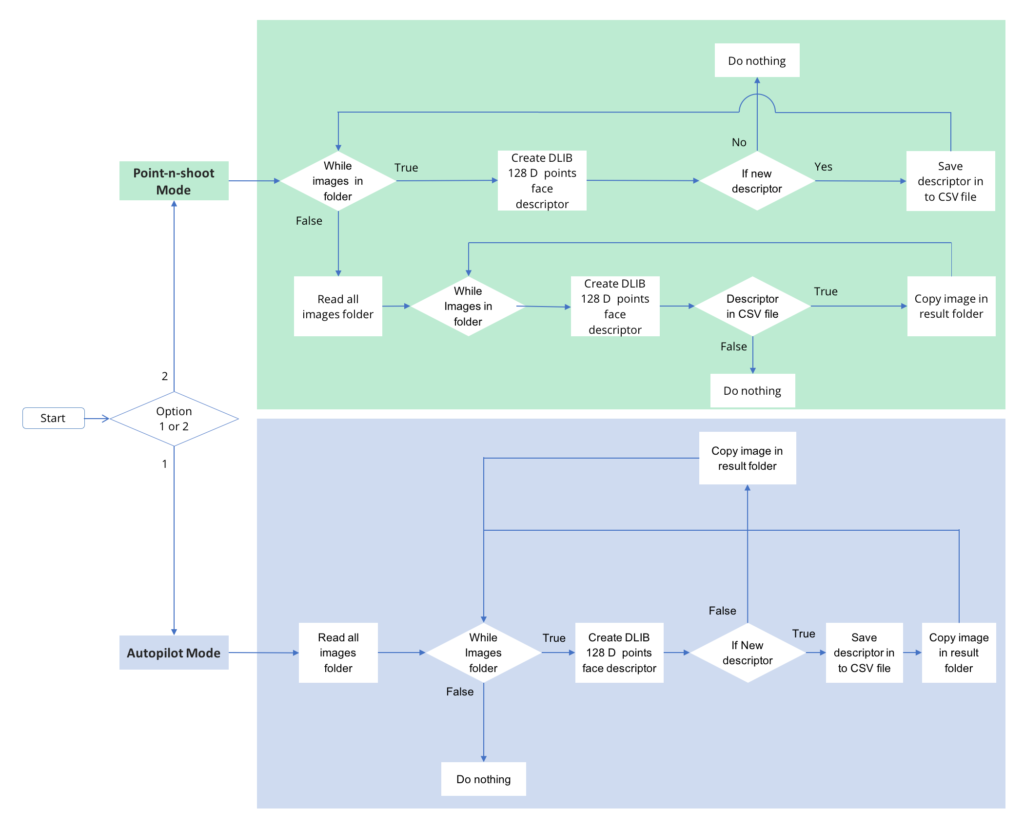
To make it intuitive, we added two features;
Autopilot Mode: As a user, you make all images available to the application in a folder. The application will read images one by one and learn each new face. It will then copy the image in a folder based on the number of faces in that image. So an image with 5 faces will get copied to 5 different folders, considering one face for each folder. Every new face will get its own folder.
Point-n-shoot mode: As a user, you provide 2 folder paths. One in which you have all images stored and another in which have an image or images in subfolder or folders of a person or persons whose images you want to identify and sift.
To explain how this application works, here’s a flowchart;
Proof…here’s a short clip to demo how this works.
This application can also be used to identify and gather objects. This can be very useful in eCommerce websites where instead of adding feature description over and over for an object that is either already sold or is a part of a catalog, once identified, the features can be copied over and only MSRP and shipping terms need to be added for a new seller of that item. This also helps in optimizing search results of goods sold online. To ensure users get relevant results using image recognition and flagging images incorrectly tagged, we can deliver a better user experience.
One challenge that we faced and overcame had to do with the size of the image itself. For just 20 to 30 images, it initially took about 2 to 3 hours to get results. Reducing the size of the image sped up performance by 2x to 3x with 1% less accuracy (which means it will miss very few images). So, before sending it over to processing, it’s important to consider resizing the image to an optimal level to get faster and accurate results.
There you have it. So now as you prepare for your next trip, know that a smart application has your back-once you are back.
Source code: https://github.com/durgeshtrivedi/imagecluster
